A recycling operation rang the other day and wanted the spare part for the conveyor. No dimension, no photo, no installation point, just those six words. We spent half an hour on the phone, guessing back and forth, and in the end still shipped the wrong thing, because nobody knew the belt width and the pulley diameter for certain. If you can name the parts of your plant, you save yourself exactly that second attempt.
Why naming the parts pays off
A conveyor belt is a manageable number of parts working together, and every one of them has a name. That sounds like a formality. In daily practice it decides whether you spend half an hour on the phone and whether the part that arrives fits or goes straight back.
The reason is simple. A supplier can only help as well as your enquiry lets them. Say the roller is squealing and they have to guess: which roller, in which spot, how wide the belt. Say the second idler behind the loading point, belt width 800, is running hot, and the right part is on the table first time. Full details, above all a photo, the dimensions, the conveyed material and the installation position, head off wrong orders and shorten the downtime until the right spare arrives. Ordering a part with no details is like asking a tailor to cut a suit without taking your measurements. Otherwise it costs you twice: once for the wrong part, once for the extra day the plant stands still.
A word of warning first. The names are not the same everywhere. What one plant calls a pulley the next calls a drum, the idler gets shortened to a roller, the scraper becomes a cleaner. Region, trade and catalogue do not always speak the same language here. That is why a section further down sorts out the most common mix-ups.
The conveyor belt at a glance: the assemblies
Before the detail, here is the map. A classic belt conveyor is built from eight assemblies. Hold those in your head and you can read any installation, however large it is.
The belt is the load-bearing component. It carries the conveyed material and is itself made up of a carcass, the tension member of fabric or steel cord that takes up the force in the belt, and the covers top and bottom. The top cover carries the material, the bottom one runs over the pulleys.
The pulleys sit at the ends. The drive pulley, often called the head pulley, transfers the drive force onto the belt by friction and usually sits at the discharge. The tail pulley at the other end turns the belt back. Depending on the installation, there are take-up and snub pulleys on top of those.
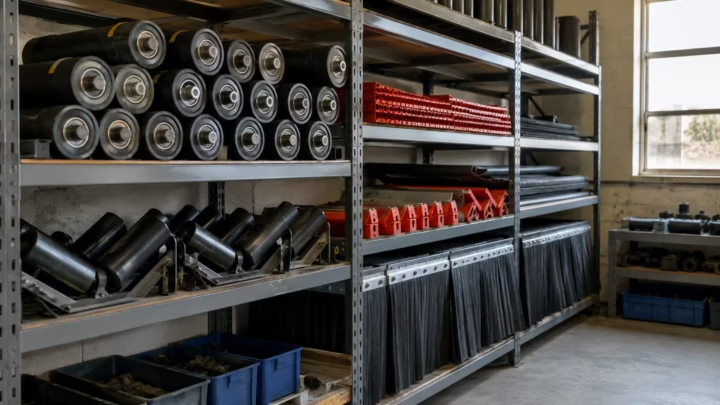
The idlers support the belt between the pulleys. Under the loaded carrying run, the upper stretch of belt with the material on it, trough idlers carry the belt, usually in three parts shaped into a trough so the material stays in the middle. Under the empty return run, the belt’s way back, sit the return idlers. In the impact zone at the loading point, support or impact idlers take the blow.
The take-up keeps the belt taut. Without tension there is slip at the drive pulley and the belt sags.
The scraper sits at the head pulley and shaves off the carryback, the material that stays stuck to the belt after the discharge. It protects the return idlers and the tail pulley from buildup. The finer points fill a chapter of their own elsewhere.
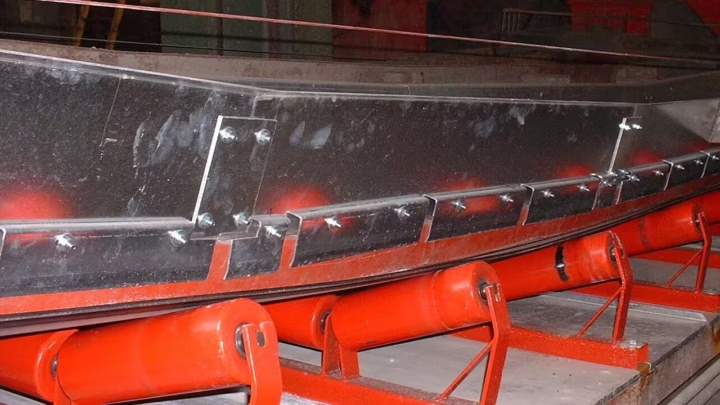
The skirting seals the gap between the chute wall and the belt, so that fines and dust do not escape at the sides. Its most important place is the loading point, where the material drops onto the belt; but it can just as well run along longer sections of the carrying run, where the belt has to be sealed at the sides. The chute guides the conveyed material onto the belt at the transfer point, and an impact bed catches the fall. Load, dust and material escaping at the sides, often called spillage, all pile up here.
And finally the safety devices: pull cords along the plant, guards on the pulleys, a start-up alarm, energy isolation for maintenance. They belong to the build just as much as the belt does, even though they carry nothing.

The build as a diagram: the function zones
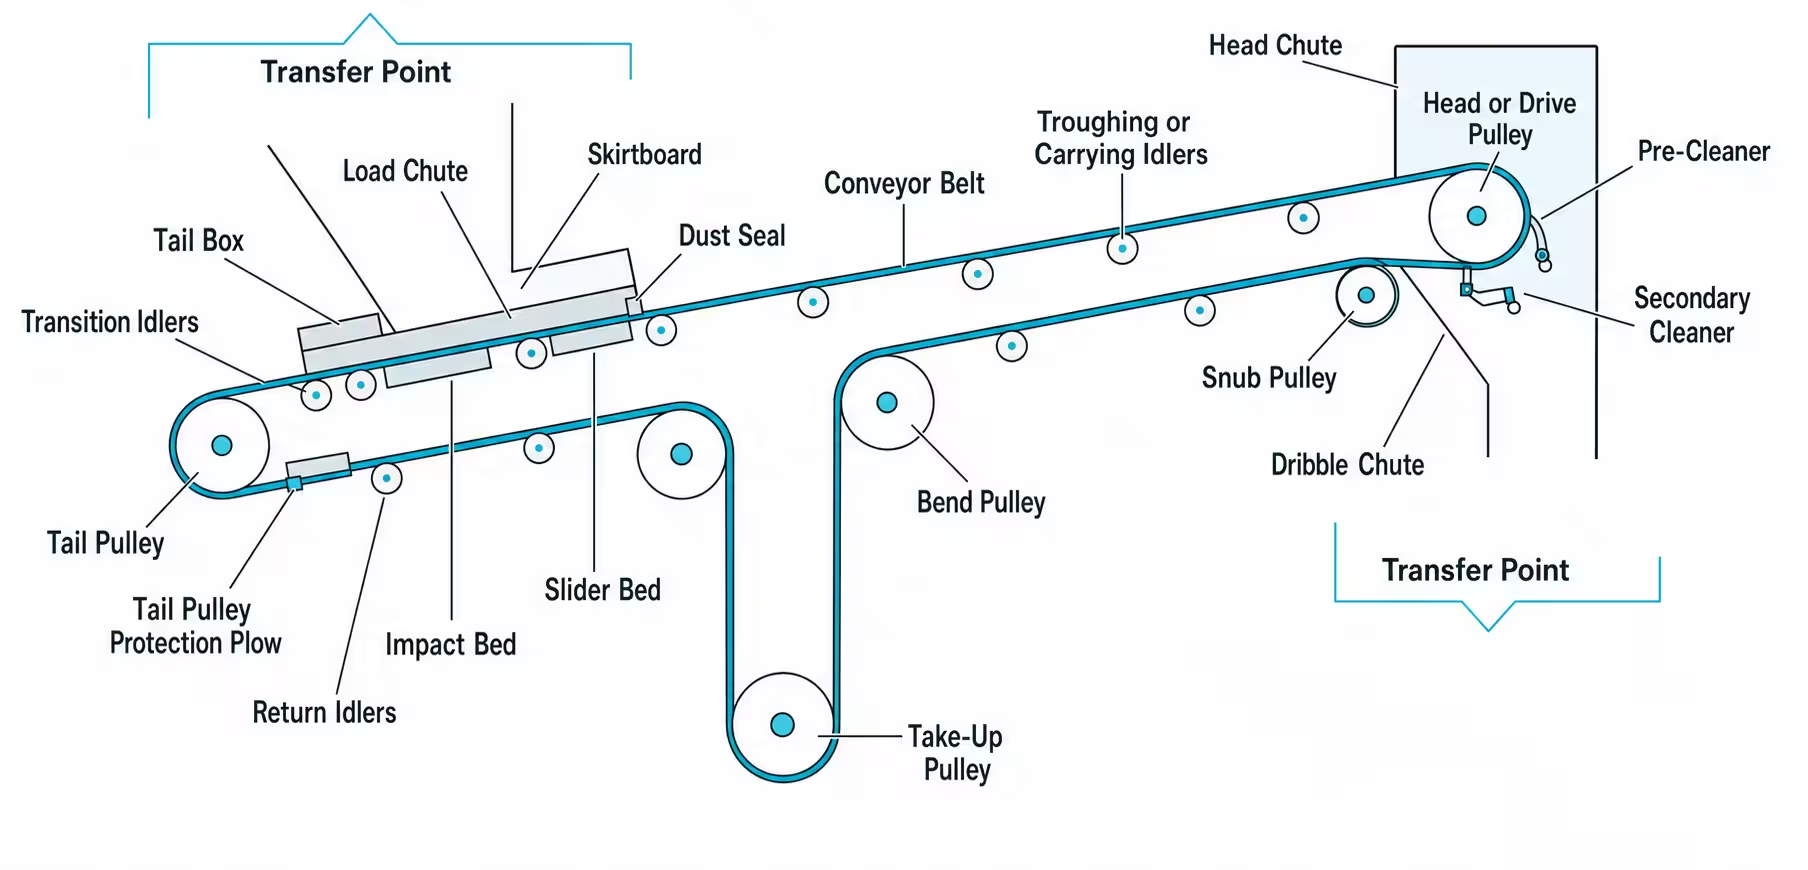
A conveyor belt is not just a set of parts. It has zones, and the zones explain why the parts sit where they sit. The labelled conveyor belt parts diagram above shows them in context. Read it once from left to right.
At the loading point the material meets the running belt. Chute, impact bed and skirting stand close together here, because this is where the greatest load and the most dust arise. From there the carrying run takes the material to the discharge. The drive pulley sits at the discharge, and right behind it the cleaning point with the scraper. The empty belt runs back along the return run, over the return idlers and the tail pulley, and the take-up point keeps the whole loop under tension.
Name the six zones, that is drive side, return side, loading point, discharge, cleaning point and take-up point, and you place every part at once.
What each part does and how it shows its wear
Now for the specifics. The table below sums up the whole article: part, job, the typical wear sign and the route to the spare part. A part almost always shows its wear before it fails completely. A bearing, for one, first makes itself heard quietly and gets louder over time, like a faulty wheel bearing in a car. You only have to know what to listen and look for.
| Part | Job | Typical wear sign | Route to the spare part |
|---|---|---|---|
| Belt | Carries and transports the conveyed material | Frayed edges, thinning cover, cracks, cuts, mistracking | Repair patch or a newly fabricated belt |
| Drive and tail pulley | Drives the belt or turns it around | Slip, worn or detached lagging, a polished-smooth surface, buildup | Usually new lagging, more rarely a new pulley |
| Idler | Supports the carrying and return run between the pulleys | A grinding noise when running, seized roller, flat spots, buildup | Replaced individually |
| Scraper | Removes the carryback behind the discharge | More carryback than usual, material building up on idlers, unevenly worn blade | Blade or the complete system |
| Skirting | Seals the loading point at the sides | Material escaping at the sides, a visible dust plume, a loose or damaged rubber strip | Renew or re-adjust the skirt seal |
| Take-up | Holds the belt tension | Slip despite good lagging, a sagging belt, too little take-up travel left | Re-tension or service the take-up element |
| Chute and impact zone | Guides and catches the material at the loading point | Punctures in the impact zone, wear on the chute wall, more spillage | Renew the impact bed or the lining |
Take a quiet minute to read the third column. Every one of those signs is an early-warning system that costs nothing but an attentive walk-round. And the part that wears most often, by the way, is not the same as the part that fails most expensively. That ranking is worth a calculation of its own.
Name confusion: pulley or roller, scraper or cleaner
Most wrong orders come not from ignorance but from language. There are four mix-ups I see again and again.
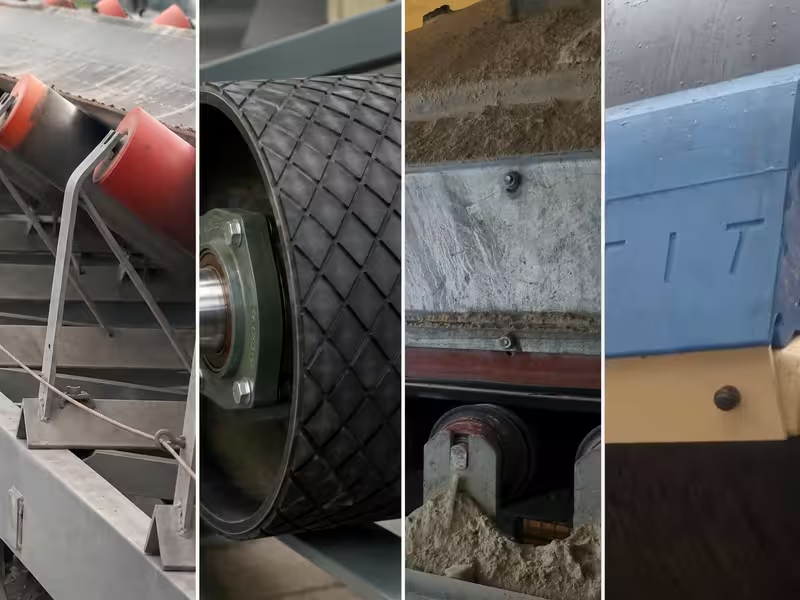
Pulley and idler. A pulley sits at the ends of the belt, driven or turning the belt around, with a large diameter. An idler carries the belt in between, turns freely and is much smaller. In Europe idlers are made to DIN 15207 and ISO 1537, with diameters of roughly 63.5 to 89 millimetres for light loads and the return run, and 108 to 159 millimetres for heavy loads. Mix the two up when ordering and you may end up with the wrong part in the wrong size class.
Scraper and cleaner. Both mean the same part, the one that takes the carryback off the belt. Catalogues write scraper, belt cleaner or belt scraper, depending on the maker. None of it changes the principle.
Skirting and skirtboard. Either word means the seal at the loading point. The wear strip inside it is the skirt seal, or in some catalogues the skirt rubber.
Take-up and tensioner. Same thing again: the assembly that holds the belt in tension. Take-up is simply the catalogue label for it.
A tip from the field. Put both the plain word and the technical term in your enquiry, and say where the part sits. The supplier then knows for sure what you mean, and you save the one follow-up question that otherwise costs half a day.
Where the spare-parts journey begins
Not every bit of wear means a major repair. The build of a conveyor belt has one pleasant property: much of it can be replaced individually, without stripping down half the installation.
The idler is the easiest. It can be swapped on its own and is the cheapest planned spare-part job there is. A seized roller needs to come out at once, because it scours the belt in one spot for as long as it stands still. The scraper blade and the skirt seal of the skirting are similarly straightforward: adjust or renew, done. Re-adjusting the skirt seal on a schedule is far cheaper than the belt damage a loose strip can do along the whole length.
The pulley is a step up from there. If only the lagging is worn, it often gets re-lagged in rubber or ceramic rather than the whole pulley being changed. Only a bearing, shaft or shell failure calls for replacing the pulley, and that is the larger job.
The belt itself is the most involved single job. Small spots can be saved with a repair patch or a let-in section. Large-area cover loss, cracks running right through or damage in the carcass, on the other hand, lead to a full replacement, and that means fitting, splicing and downtime. A conveyor belt is no throwaway part; it is often the single most expensive item on the whole installation.
How deep you really go into skirting and the transfer point, once spillage and punctures become a running theme there, is a chapter of its own.
Safety is part of the build
One chapter is still missing, and it is the one that turns up least often in the spare-parts catalogue: safety. It is part of the build of a conveyor belt just as much as the belt, even though it moves no material.
Four things should be present and working on every installation. Pull cords, that is pull-wire emergency stops, run at strategic points along the belt so that anyone can stop the plant from anywhere in an emergency. Guards keep hands and clothing away from moving parts, above all at the pulleys where the belt feeds in. An audible and visible start-up alarm sounds before anything moves. And for maintenance the plant is isolated from its energy sources and locked against restart before anyone reaches in.
A figure from the US shows why this is not a side issue: over 40 fatal conveyor accidents and around 9,000 injuries a year are reported there, according to a US statistic that circulates in the trade press. It does not map one to one onto operations elsewhere, and it does not come from a standard. The direction is clear all the same, and most of the serious accidents trace back to missing or inadequate guarding. You clear jammed material with the plant shut down, never while it is running.
- A conveyor belt is made up of eight assemblies: belt, pulleys, idlers, take-up, scraper, skirting, chute and safety devices.
- Every part has a typical wear sign. Know it and you catch the fault early and replace the right part instead of guessing.
- Do not mix up pulley and idler: the pulley sits at the ends and is large, the idler carries in between and is small.
- Much can be replaced individually (idler, blade, skirt seal). The belt is the biggest job, because fitting and splicing cost downtime.
- A good spare-part enquiry needs a photo, the dimensions, the conveyed material and the installation position. That saves the second attempt.
- Safety devices are part of the build: pull cord, guarding, start-up alarm and energy isolation for maintenance.
Frequently asked questions
What are the parts of a conveyor belt?
Eight assemblies: the belt, the drive and tail pulley, the idlers, the take-up, the scraper, the skirting, the chute at the loading point and the safety devices. The belt carries the material, the pulleys drive and turn it, the idlers support in between, and the rest keeps everything clean, tensioned and safe.
What is the difference between a pulley and an idler?
The pulley sits at the ends of the belt, is driven or turns the belt around and has a large diameter. The idler carries the belt between the pulleys, turns freely and is much smaller. European idlers are made to DIN 15207 and ISO 1537, roughly between 63.5 and 159 millimetres in diameter depending on the load. Mix up the two terms and you quickly order the wrong part.
What does the take-up on a conveyor belt do?
It keeps the belt in tension. Without enough tension the drive pulley slips, the belt sags and runs off track. Short conveyors often get by with a manual screw take-up; longer installations usually need an automatic gravity take-up that keeps the tension constant even under load and belt elongation.
Which part wears first and what can I replace on its own?
The idlers speak up most often, usually through their bearings, along with scraper blades and the skirt seals of the skirting. These are exactly the parts you can replace individually and cheaply. A seized roller should come out at once, because it scours the belt. The belt itself and the pulley are the bigger jobs and come up less often.
What safety devices belong on a conveyor belt?
Pull cords as emergency stops along the plant, guards on pulleys and idlers, an audible and visible start-up alarm, and safe energy isolation for maintenance. These belong to the build like any other part, even though they do not move any material.
The Conveyor Belt Calculator delivers cross-section, drive power and a belt recommendation for your installation, free in the browser and without signing up.